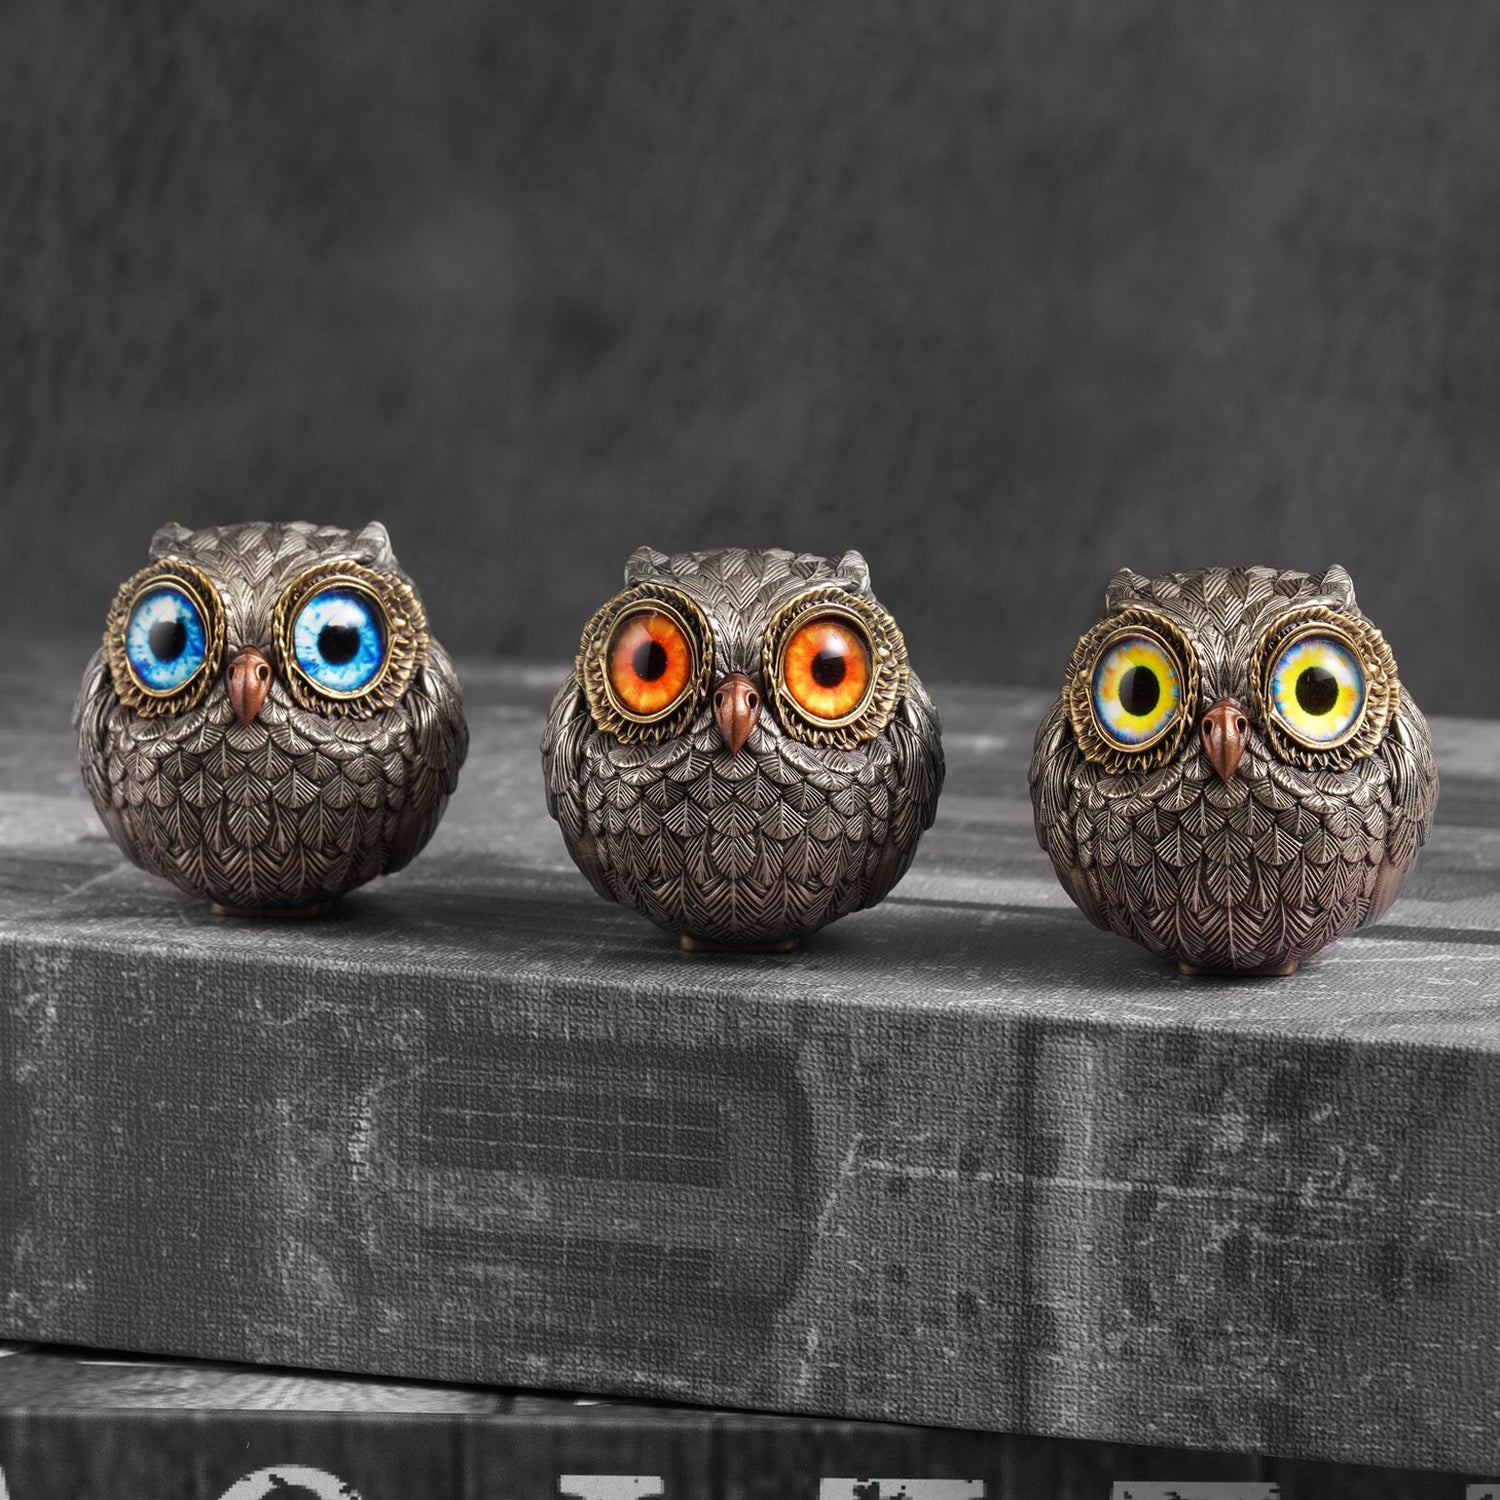
Bronze sculptures, with their distinctive texture and timeless beauty, have long been cherished by art enthusiasts. Applying a patina, or an aged bronze finish, can give your sculpture a unique flair. Today, I’ll walk you through the process of adding a patina to your bronze sculpture, turning it into a captivating piece of art.
Step 1: Preparation
Before you begin, make sure the sculpture’s surface is clean. Wash it gently with warm water and soap to remove any grease and dirt. Then, use fine sandpaper to lightly sand the surface. This step removes old oxidation and provides a better surface for the patina to adhere to. After sanding, the sculpture should be smooth and dry.
Step 2: Selecting and Preparing Chemical Agents
Applying a patina usually requires specialized chemical agents like ammonia, hydrogen sulfide, or copper salts. These can be found at art supply stores or specialty chemical suppliers. Follow the product instructions to prepare the solutions, which may involve diluting them to the correct concentration. If you’re unsure about how to use them, it’s a good idea to test on a small area first to ensure you get the desired effect.
Step 3: Applying the Patina
With the sculpture prepped, it’s time to apply the patina. You can use a spray bottle or a brush to evenly apply the patina to the surface of the sculpture. If using a spray bottle, hold it at a distance to avoid over-saturating the surface. For brushes, apply the patina evenly, making sure to avoid brush marks. Allow the patina to dry and react naturally, which may take some time.
Step 4: Heating (Optional)
Some patina solutions work better with heat. To speed up the process or achieve a deeper color, you can use a hairdryer or heat lamp to gently warm the sculpture. Be cautious not to overheat, as excessive heat can damage the sculpture or alter the patina’s effect.
Step 5: Observing and Adjusting
As the patina dries, you’ll see the color gradually change. Different patina solutions will produce various effects, and you might need to apply multiple coats or make adjustments to get the perfect result. If you notice uneven coloring, you can use a brush or cloth to make adjustments and ensure the color is uniform across the sculpture.
Step 6: Sealing and Protecting
Once you’re satisfied with the patina, it’s time to protect it. Use a clear sealant or varnish to coat the surface of the sculpture. This will fix the patina and protect the sculpture from environmental factors. Let the sealant dry completely before displaying or storing the sculpture.

Step 7: Maintenance
Patinaed sculptures require regular maintenance. Gently dust the surface with a soft cloth to remove any debris. If you notice fading or damage, you can reapply the patina or protective coating to maintain the sculpture’s appearance.
Applying a patina to a bronze sculpture is not just a finishing touch; it’s a way to infuse your artwork with character and history. By following these steps, you can achieve a unique patina that enhances the sculpture's artistic appeal. I hope this guide helps you in your artistic endeavors, turning every piece into a masterpiece.


